You coordinate aid. Here is how Platforma App makes that work.
Start with the three setup steps below. Once done, choose the flows that match how you operate — you do not need to use all of them.
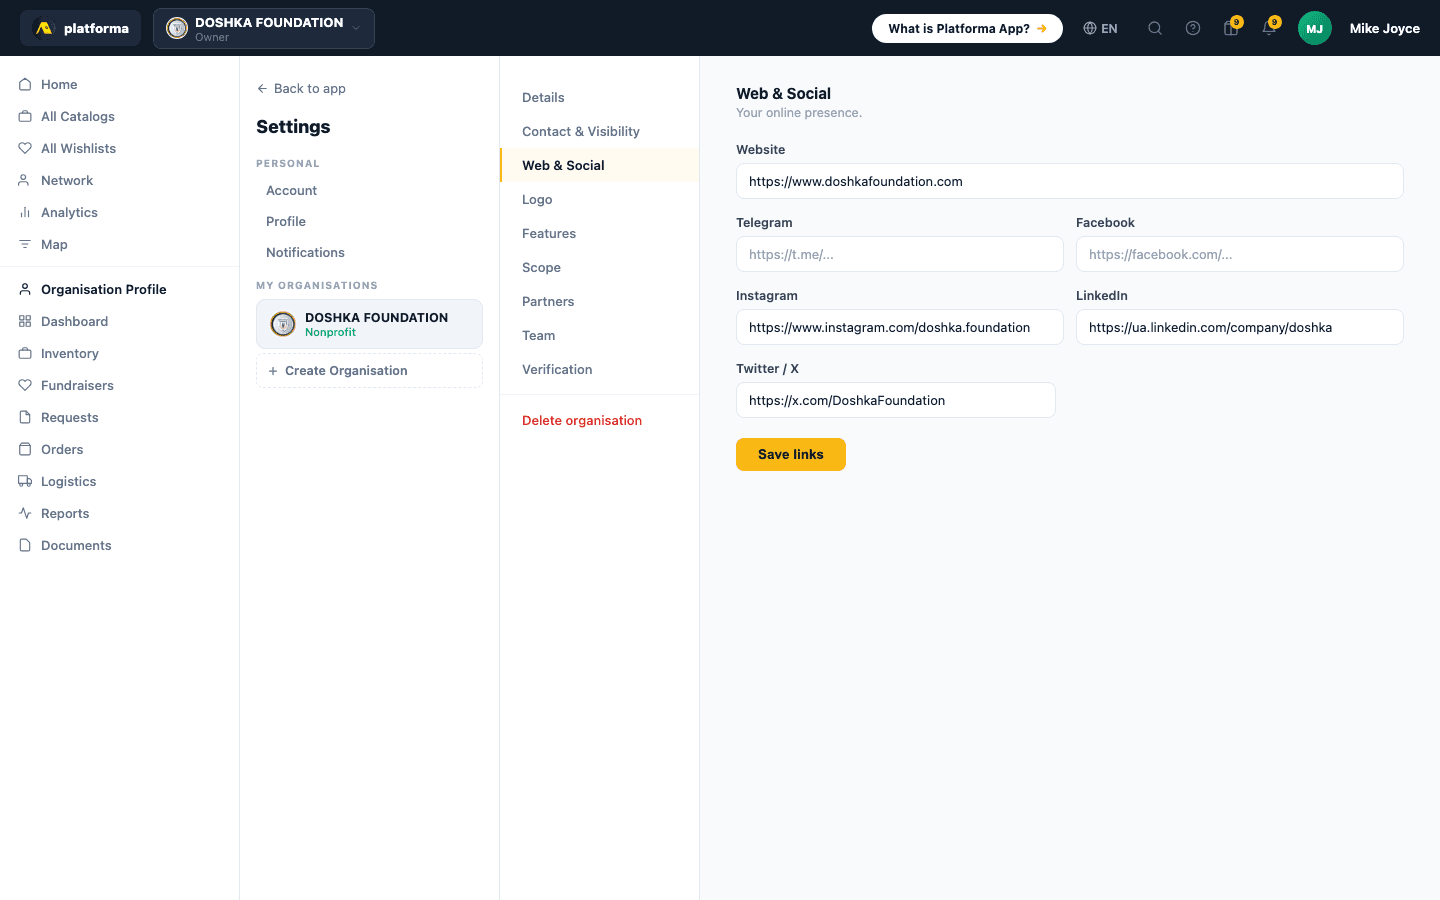
Create your organisation profile
Your organisation profile is your public face on the network. Recipients browse it before submitting a request. Donors check it before giving. Suppliers look at it before accepting your orders.
- Go to Settings → Organisation Profile
- Add your organisation name exactly as it appears on your legal registration
- Upload your logo
- Write a short description — who you are, what you do, where you operate. 3 to 5 sentences.
- Add your location, website, and contact email
- Save — your profile is immediately visible to the entire network
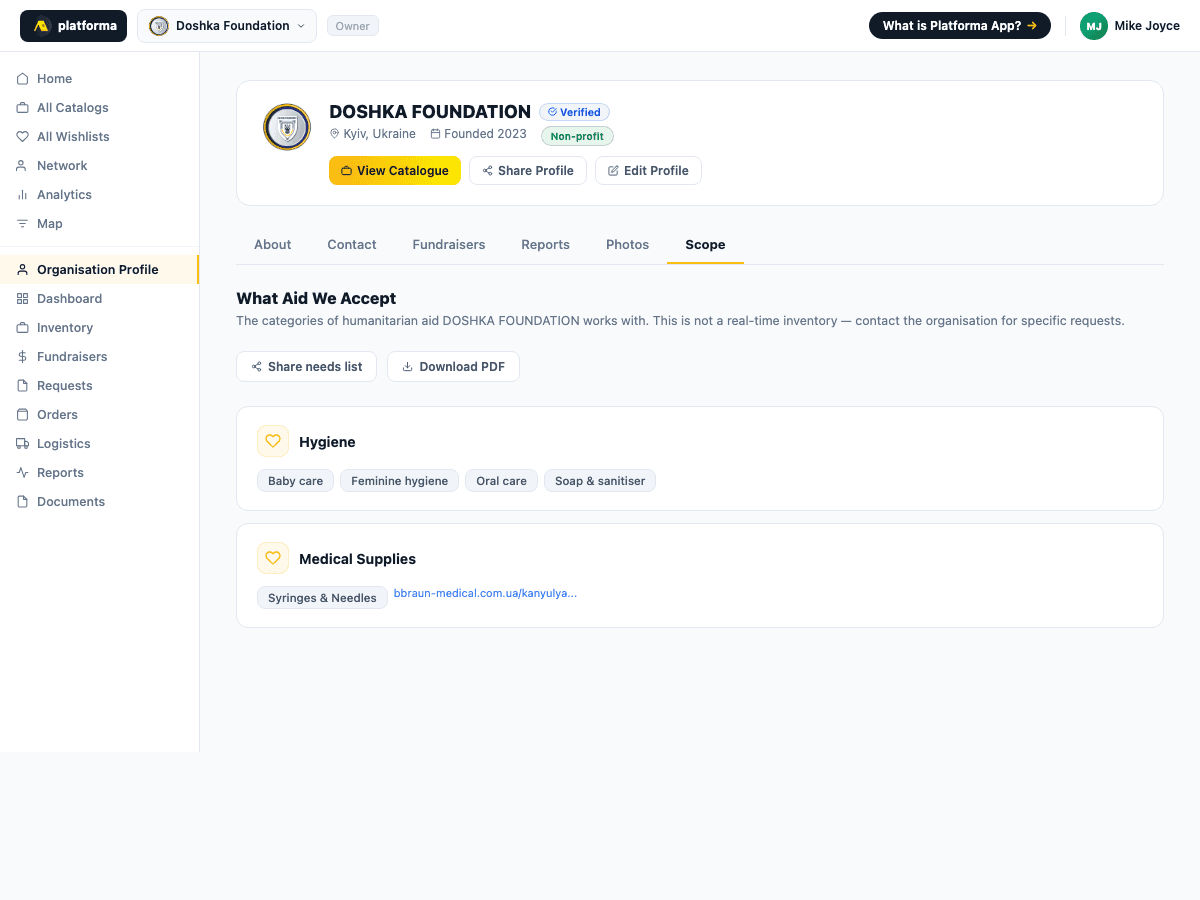
Set your scope
Your scope tells the network what categories of aid you work with. It helps recipients find you when searching by category, and determines how you appear across the platform.
- Go to Settings → Scope
- Select the aid categories you work with: Medical Supplies, Food, Hygiene, Clothing & Protective Equipment, Energy, Vehicles & Transport, Construction & Shelter, Other
- Select subcategories within each — be specific
- Add the geographic areas you serve
- Save — your scope is reflected on your public profile immediately
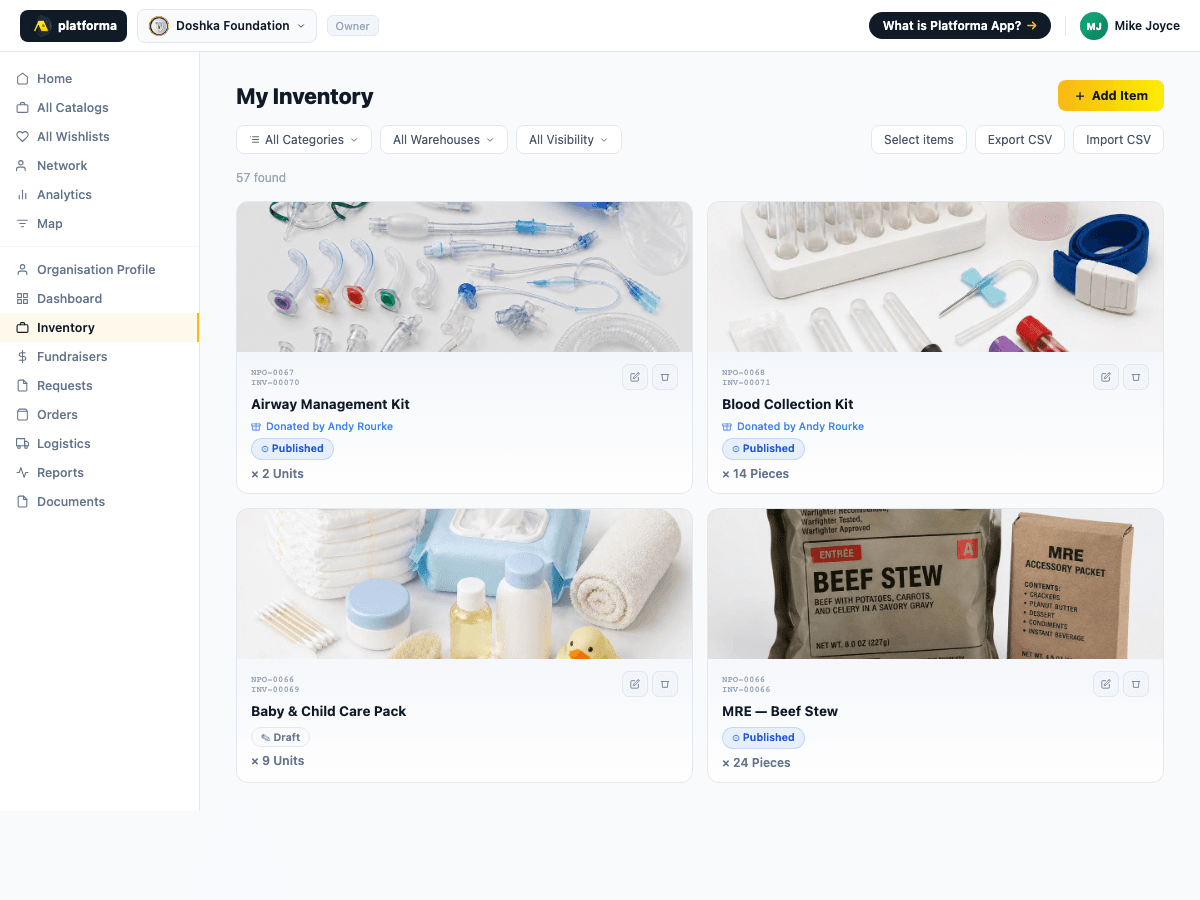
Build your inventory
Your inventory is your catalogue — what you have available for recipients to request. Without published items, recipients cannot request anything from you.
- Go to Inventory
- Add items by hand (name, category, quantity, condition, optional photo), by camera (AI identifies the item and pre-fills the fields), or by CSV upload
- Set each item to Draft (internal only) or Published (visible to recipients)
- Publish items when you are ready to receive requests
Each item automatically receives a unique IKD number (e.g. IKD-2026-00042) that follows it through every stage — request, order, delivery, report.
Review incoming requests
Once your catalogue is published, recipients submit requests directly to your inbox.
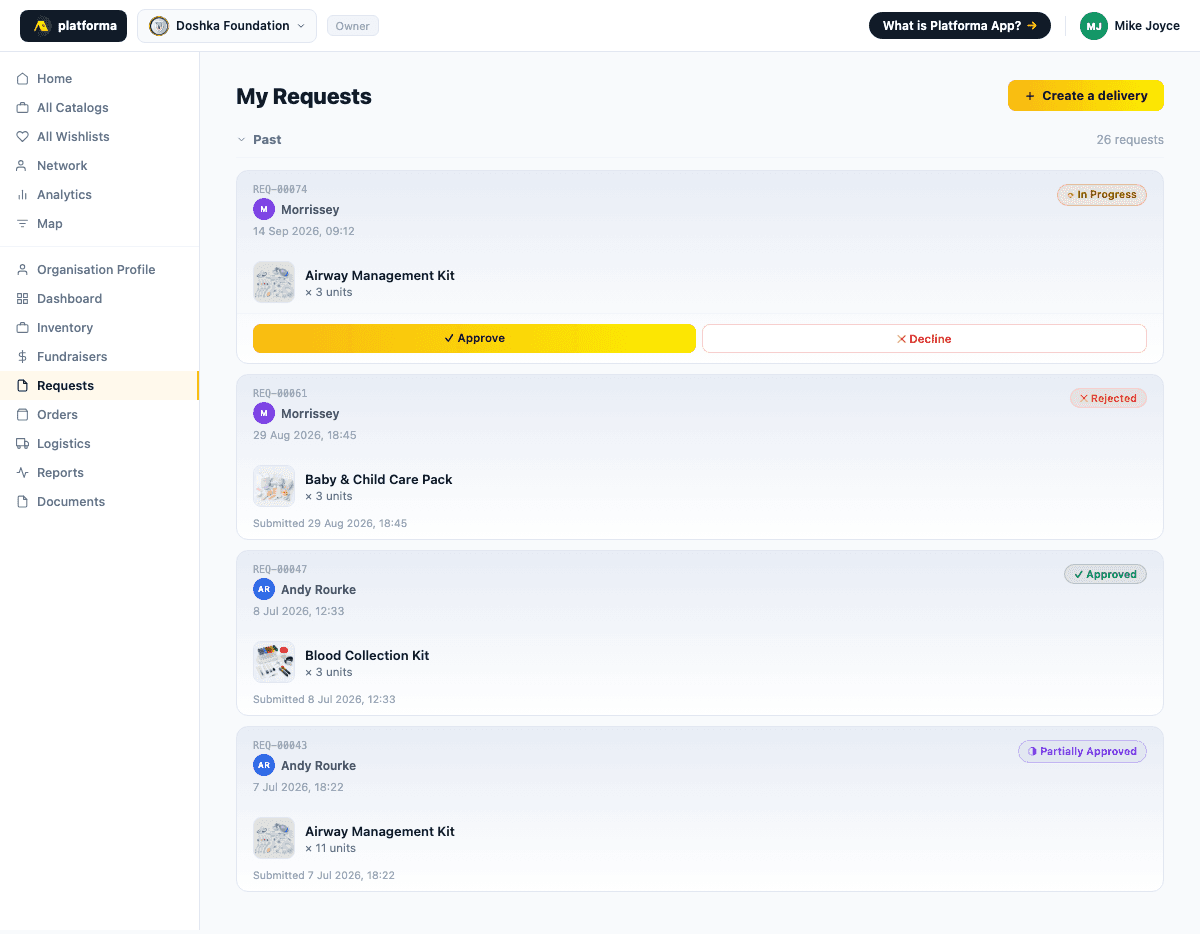
- Go to Requests
- Each request shows: who is asking, what they need, quantity, date submitted
- Click Review to open the full detail before deciding
- Choose: Approve all / Partially approve (adjust quantities per item) / Decline
- Every decision is logged with a timestamp and the recipient is notified immediately
Track logistics and confirm delivery
Every approved request generates a logistics record automatically.
- Go to Logistics
- Find the record linked to the approved request
- Track status: In Preparation → Shipped → Received
- Attach delivery documents or photos at any stage
- Mark as Delivered when goods arrive
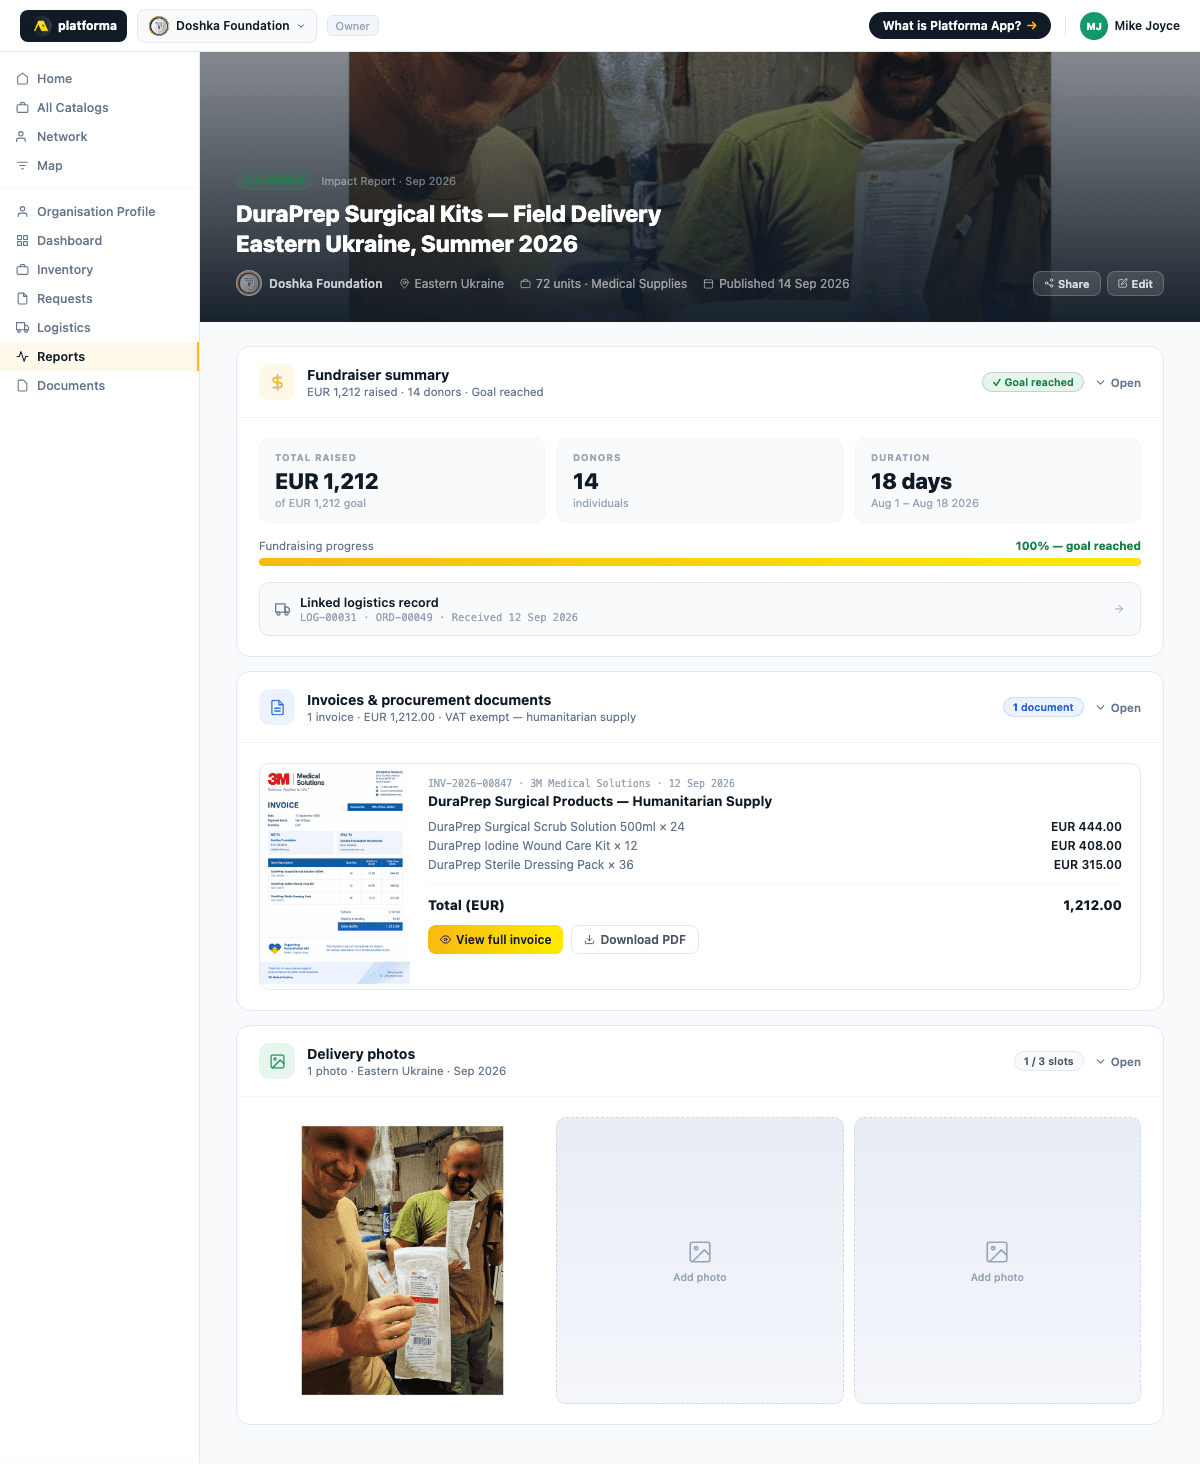
Publish an impact report
Once a delivery is confirmed, generate a shareable report linked to the real transaction data.
- Go to Reports
- Find the completed delivery you want to report on
- Add a title and summary
- Attach photos and invoices from the delivery
- Publish — the report receives a public URL you can share with donors or funders
Your report links back automatically to the original request, the approval decision, the logistics record, and the recipient's delivery confirmation.